During my adventure with NodeMCU, ESP9266 and DHT22 I had to switch from Windows machine to Macbook. Looks like having it running from OSX is as easy as at windows.
Step 1: Download and install CP210x USB to UART Bridge VCP Drivers
Step 2: Connect your NodeMCU and verify if you have USB serial port available
Step 3: Connect to this virtual COM using your favorite terminal emu. Remember to adjust settings (Default: 9600/8/N/1). Screen is the one you probably already have. If you didn't change default configuration then you are ready to go. Just type `screen /dev/tty.SLAB_USBtoUART`
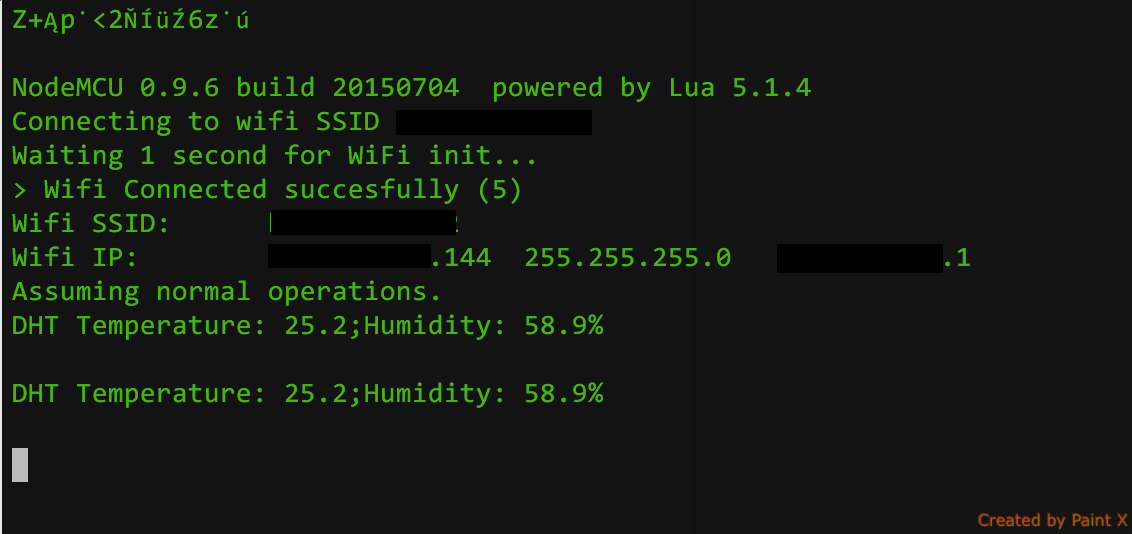
Works like a charm.
Flashing firmware is also easy. You have to have python and pip installed. Python is already there. All you have to do is `sudo easy_install pip`.
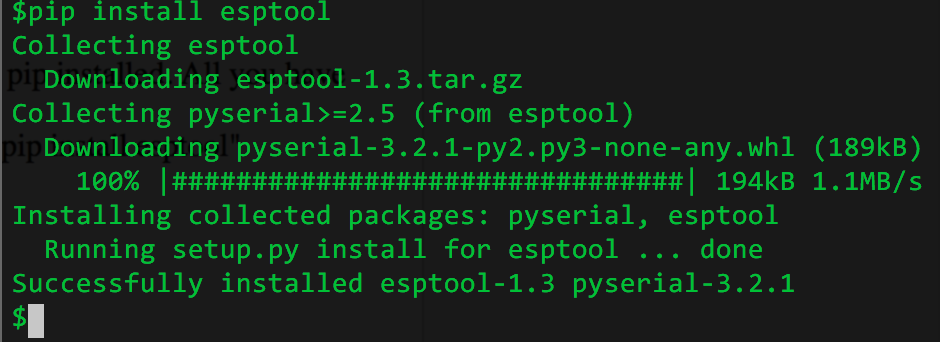
After pip is installed you can use it to install esp tool by using command `pip install esptool`:
Now we can try to install some software. Little bit more complicated, but can survive. In order to enable flashing of device, GPIO0 must be set to low. It can be done by pressing "FLASH" button during powering on (just keep it pressed as you plug it into USB port). Also remember to disconnect your terminal from serial port. I was able to reflash my NodeMCU using this method easily.

After that just replug your device, open back terminal emulator and reconnect to serial interface. You are back in the business. What is also quite interesting, after flashing on Windows I had to upload init.lua again, this time it was not removed.
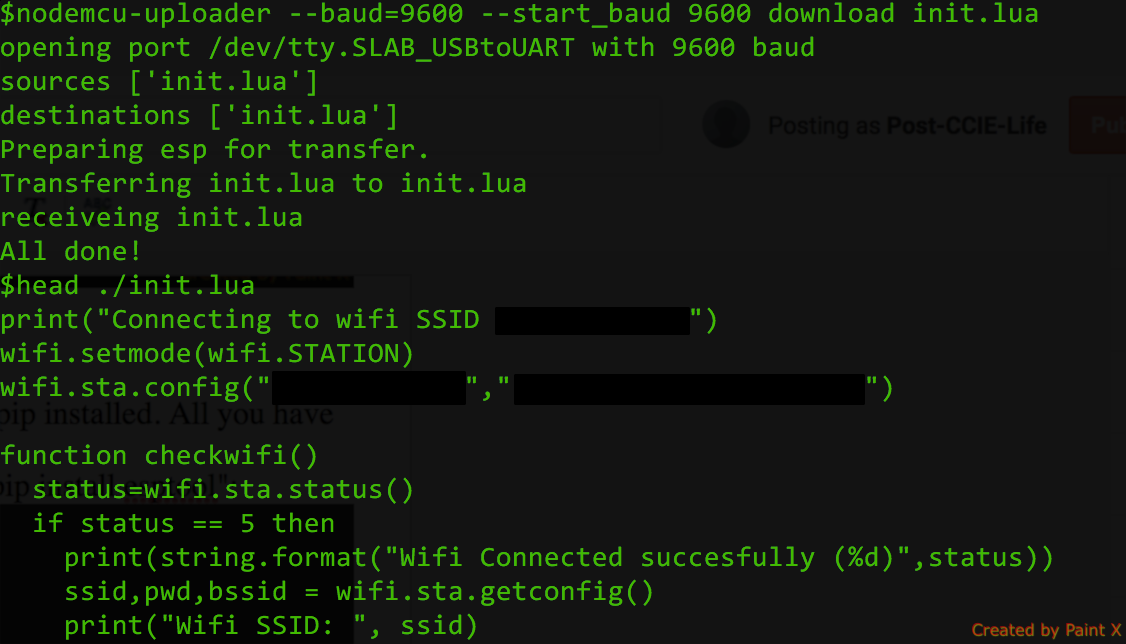
So yea, one last thing to learn would be how to up(down)load files. Need another cool tool to be installed - nodemcu-uploader. Procedure exactly the same as before. Note, disconnect your terminal and according to instructions, as we use old firmware, change baudrate to 9600.
Now we can fully work with NodeMCU from OSX directly.
You can continue with this guide. Only difference is - you will have to enter all commands manually.
No comments:
Post a Comment