Friday, October 31, 2014

A new hope

Okay, it's not good, but it's not very bad either. Looks like my worst case scenario just came to play. What to do? What to do? Okay, let's start with something. b7. Where's my manual? Here we go. It has to mean something. "b7. NVRAM configuration reset". Great. Google, you are my last resort. Still nothing? Somebody mentioned main board replacement? I'm so screwed...

Going back to the very beginning of the story - a month ago (yeah, I promised to put it next day, sorry about that) I finally decided to order all missing parts and put together my new toy^H^H^Htool. It was quite funny, but at the end it failed. Ended up with dark screen (didn't show even a thing) and this mystery b7 code on led indicator. I had to figure this out. It could be anything. So the first one and most obvious, easiest to tshoot was memory. I removed all three DIMMs and put back only one. First one... Nothing. Second... Like a charm! So after a bit of experimenting it revealed that both 4GB banks works perfectly, but third, 8GB one does not. 

First thought was that it was damaged, but then I realized that it may be some compatibility issue and after confirming that I don't have most recent BIOS version I've gone for upgrade. After that I was able to run every single memory bank, but only two of them at the same time. Weird, isn't it? After a little bit of further experiments I discovered that my manual is wrong and I changed the placement of memories in the slots for a few times. Then I finally managed to have my server up & running.


Ready-Steady-Go?

Oh no, wait. I still need some storage. Here is the great part. This mainboard has on-board USB slot, so you can plug in any USB device you want directly into motherboard. How cool is that? Of course I'll run my ESXi from usb and have all my disk space dedicated to the data stores. Okay, usb stick plugged in, drives mounted and connected. Onboard RAID controller enabled and assigned to all SATA ports.


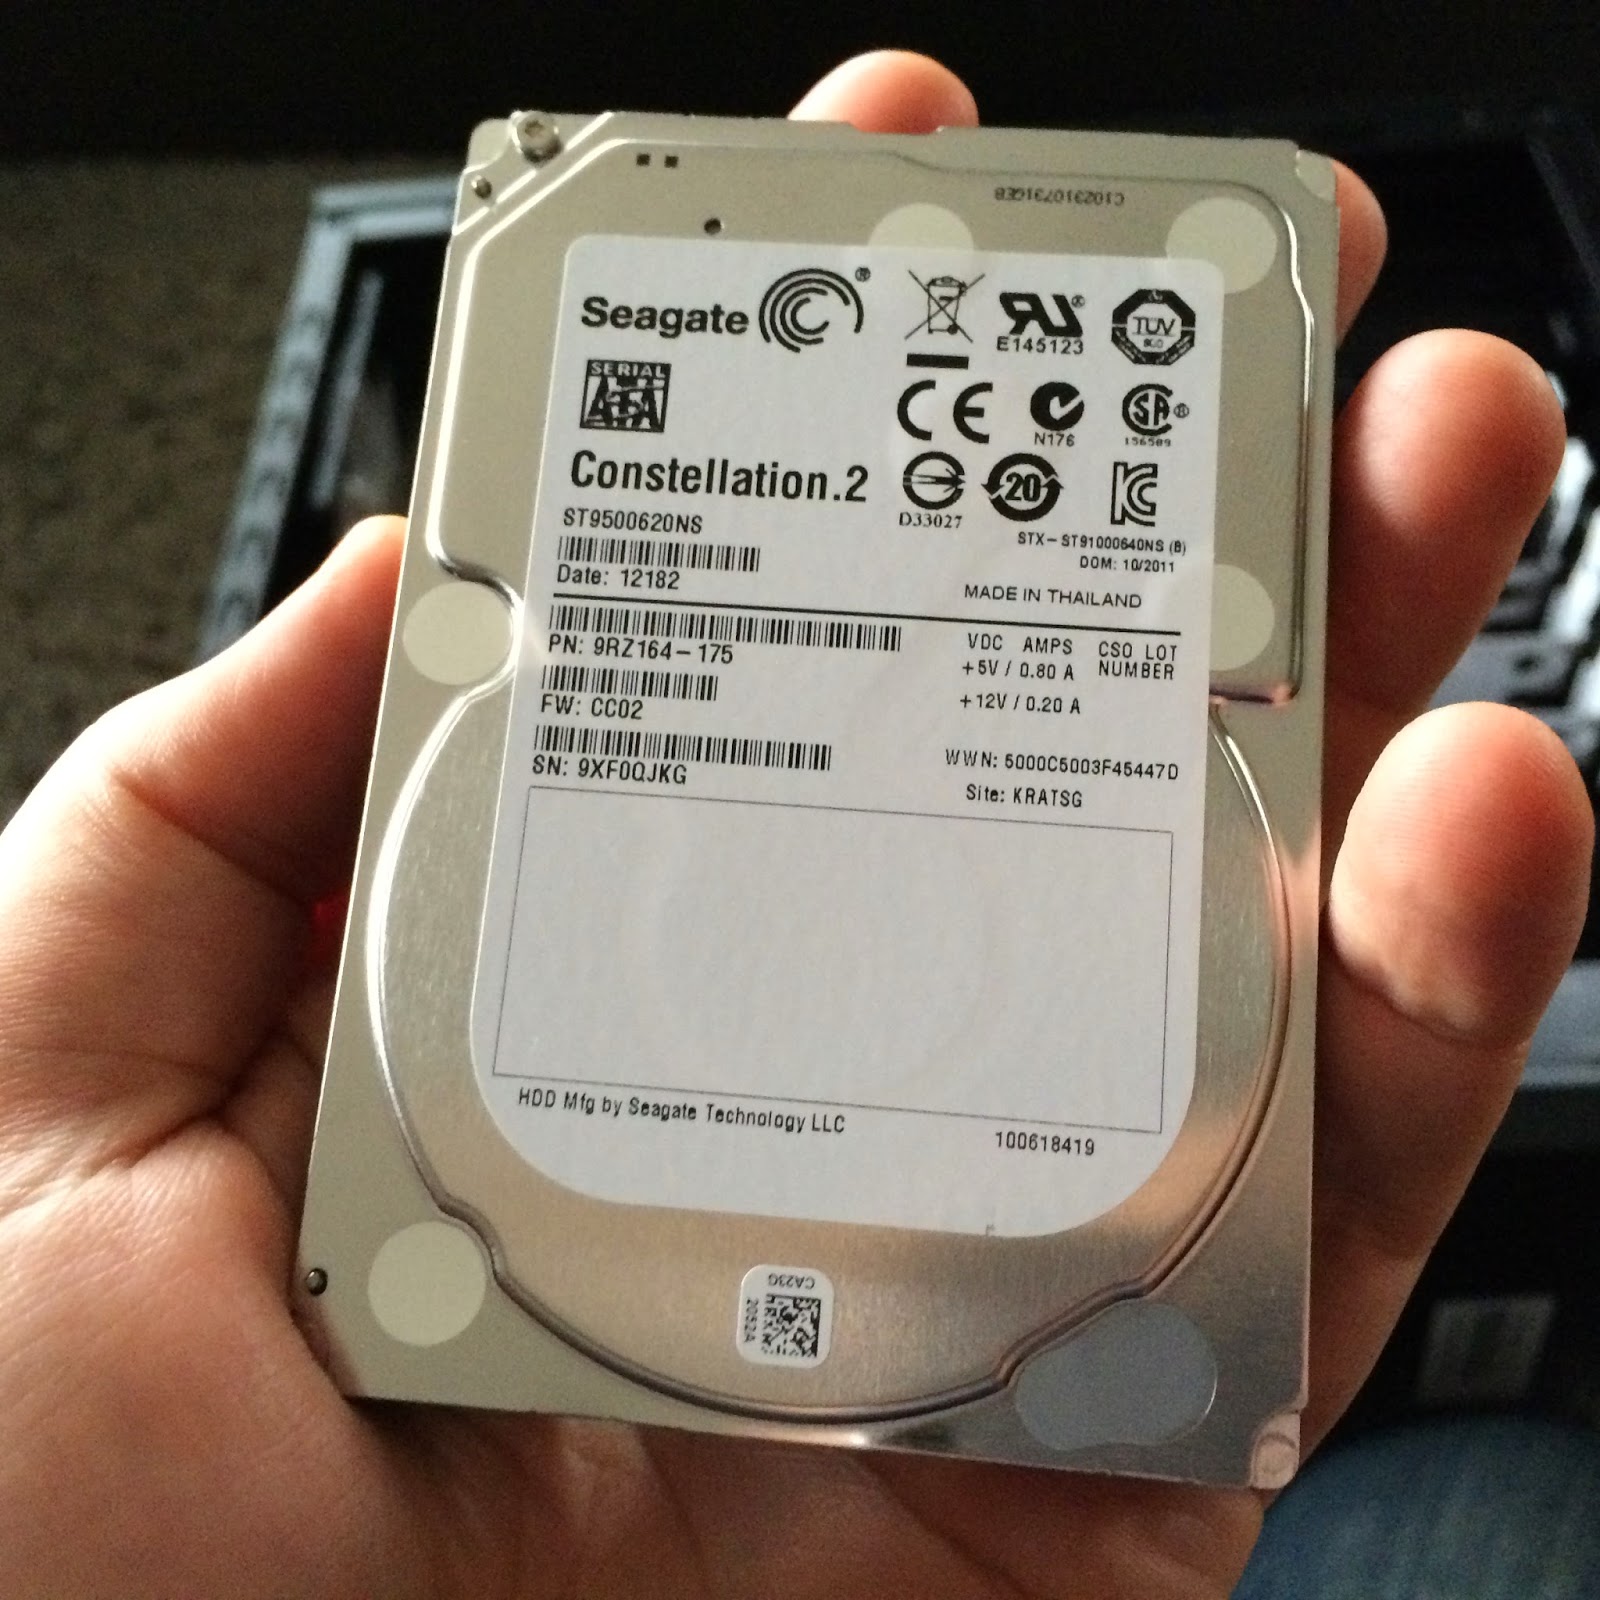
Power-on, go to RAID controller ctrl-m, ctrl-m, ctrl-m... There we go! Crash course mode on, learning by doing. After a bit of time walking around the RAID controller BIOS i found out, that my 500-GB Seagate Constellation actually reports more than 2TB of capacity. I got these drives somehow second-hand, so my first thought was "Great, I thought that they are 0,5TB and they are actually 2.5!", but then I realized that I cannot initialize array on them. Moreover, I already noticed strange sounds from them just after powering on the machine. Another failure...


Then I recalled that I have my good old 500GB transcend drive. It spent last few years in the cabinet, so without any regrets I got it outside of case and put it into the server. Maybe its not long-term solution, but at least its gonna allow me to have some start. Then I'll move to new disks once I'll have it.


At the end? Thats it? Up & Running. 16GB Memory. Booting from USB Stick. 500GB of Storage. Good to go! Let's setup PXE and finally install ESXi!. In the mean time, let's make some review.

Sunday, October 26, 2014

Fix your lens. Yourself.


Things tends to be malignant. That's it. I learned it once more on the very first day of my vacation when I lost autofocus in my camera. I bought it about 8 years ago, so I'm not complaining. It served me well, but couldn't that happen a few days later?


At the end it wasn't so bad. My lens was still turning automatically in one direction. With that being said, I was able to use semi-auto-focus - just turn my lens manually in counter-focus direction, then half-press the shutter to focus. Sometimes I had to do this multiple times, but still better than nothing. And the pictures I took were not too bad anyway.


When I got back home I googled a little bit around and realized that I have three options:
1) Sell this camera body with broken lens as is. I was thinking about replacing it anyway.
2) Fix it in service - it should be no more than $70
3) Fix it myself - sounds like a challenge. And should cost around $7

What choice did I really have? :-)

Found this great tutorial on youtube and disassembly went pretty smooth. I identified broken flex cable and I ordered one on the internet. I put every part of my lens to the box for a week waiting for delivery. Once I got it I was waiting for a good moment to assembly things back again. Then I realized that I screw up. I should have wait with disassembly of my lens until the cable arrives, because during the week I just forgot order of operations and which screw I should use to secure which part. 

So I was kind of stuck with something like this on the table:


Ok, where to start? Again, I used second part of great tutorial I've found. The only problem I had was that disassembly went so smooth, that I decided to go a few steps further than tutorial and I just disassembled everything. Good news - it was much easier to replace the cable, because I had interesting part completely removed from lens body. Bad news - I had no idea how to put it back together. So I just started with broken cable replacement.


Then I spent another two hours trying to find out how to put all the things together to reflect the state of the lens from the beginning of second part of tutorial. It was quite frustrating, because every time I managed to put things together so I was able to turn around focus or zoom and lens behaved like it should, later on it revealed that parts were not aligned properly and I had to start from the beginning. Go figure.

When I finally understood logic of all moving parts and put it together properly, I just followed that lovely tutorial. It might be a little better quality, but it's good enough if you watch it carefully.

Good progress
Keep it up!
Almost there.
Yup, almost there. Just put back PCB, connect flex cables without damaging them, close the corps and... good to go?


Ready, steady?
You can only imagine how good I felt once I realized that it actually works!


If your lens ever happen to fail, you should fix it yourself. It's quite tricky and complicated to disassembly it and then put it back together, but it's definitely not a rocket science. 

Stay tuned, I have some significant progress on my Whitebox project to report!


Wednesday, October 1, 2014

PXE: Freedom with capital F!

During my entertainment with my new virtualization box here, here and here one of obstacles coming into my way was lack of cd-rom drive. Putting installation image on bootable USB stick was tempting, but its all about fun, isn't it? Besides, I always wanted to have network boot environment set up and ready to use for number of purposes, so it looks like perfect occasion to me.

So what's the big deal with PXE? It allows you to boot operating system directly from the network with zero-touch configuration on the machine that you want to boot itself. Its quite easy to setup and with this guide you'll be able to set it up within 15 minutes.

What you need:

  • dhcp server
  • tftp server
  • pxelinux distribution

How it works?

  1. Machine boots up, and its set to PXE network boot
  2. It issues DHCPDISCOVER and waits for the reply
  3. DHCP server assigns IP address, tftp server and tftp image path to it
  4. It configures network stack using provided informations
  5. Then it download specified boot image from tftp server and fire it up
Easy, huh? Let's go straight ahead to the configuration.

I tried two different dhcp servers for this purpose - IOS and (of course) ISC dhcp server. I have also used static dhcp binding to my MAC address.

IOS DHCP:

ip dhcp pool pool-name
 host 192.168.102.20 255.255.255.0
 hardware-address aaaa.bbbb.cccc
 bootfile pxeboot/pxelinux.0
 next-server 192.168.102.10
 domain-name domain.name
 dns-server 8.8.8.8 8.8.8.4
 default-router 192.168.102.1

ISC DHCP: (dhcpd.conf)

allow booting;
allow bootp;

option domain-name "domain.name";
default-lease-time 600;
ddns-update-style none;
authoritative;
log-facility local7;

subnet 192.168.102.0 netmask 255.255.255.0 {
  host hostname {
    hardware ethernet aa:bb:cc:dd:ee:ff;
    fixed-address 192.168.102.20;
    filename "pxeboot/pxelinux.0";
    next-server 192.168.102.10;
  }
}

Setting up IOS dhcp is as simple as entering those commands provided you have IOS device on your network. ISC DHCP may be a little more complicated - you may need to download and configure it from source package but it's a part of probably every single linux distribution. I set it on my macbook using osx ports:

port install dhcp
<edit config file>
launchctl load -F /opt/local/etc/LaunchDaemons/org.macports.dhcpd/org.macports.dhcpd.plist
launchctl start org.macports.dhcpd

Note that if you have any issues with your dhcp.conf it will just silently fail, so it's always a good idea to test it on the very beginning using 

/path/to/dhcpd -cf /path/to/dhcpd.conf -d

It will run in foreground and show you what dhcpd is actually doing.

Ok, so far so good. Now its time for tftp! 

Again, most linux distributions should include one so you need to refer to your documentation to set it up, on os X its a part of the system, so its just a matter of enabling it:

launchctl load -F /System/Library/LaunchDaemons/tftp.plist
launchctl start com.apple.tftpd


Now it listens for incoming connections and servers files found under /private/tftpboot directory.

Okay, so our infrastructure is basically ready for PXE applications. You will find required package here: http://www.syslinux.org. You just need to download latest package and thats it. Then it's time to setup tftp files required to netboot your station.

Without going too much into details, this is what I've done and works for me:

./pxeboot/ldlinux.c32
./pxeboot/libcom32.c32
./pxeboot/libutil.c32
./pxeboot/mboot.c32
./pxeboot/memdisk
./pxeboot/menu.c32
./pxeboot/pxelinux.0

./pxeboot/pxelinux.cfg
./pxeboot/pxelinux.cfg/default
./pxeboot/VMware
./pxeboot/VMware/VMware-VMvisor-Installer-5.5.0.update02-2068190.x86_64.iso

First and most important file is pxelinux.0. Like all of the files in /pxeboot directory, it was copied out from syslinux distribution package. It is boot loader for your host. Then you need to create pxelinux.cfg directory and put config file for your host inside it. If you boot a host from PXE it will look for its configuration file at this directory (details). I want universal configuration, so I just put my config into "default" filename, so it can be eventually loaded by all PXE-enabled hosts.

This is the content of this file:

DEFAULT menu.c32

MENU TITLE PXE Boot Menu
NOHALT 1
PROMPT 0
TIMEOUT 80

LABEL hddboot
 LOCALBOOT 0x80
 MENU LABEL ^Boot from local disk

LABEL install
  KERNEL memdisk
  APPEND iso initrd=VMware/VMware-VMvisor-Installer-5.5.0.update02-2068190.x86_64.iso raw
  MENU LABEL ^ESXi-5.5U2 Install ISO

Again, this is still quite simple if you have any linux boot loader (grub, lilo) background. There are two options specified - local boot and VMware ESXi installer-iso boot.

And this is it! All you need to make sure now is to copy all required files into required places and it's done. Set up your test box for PXE booting and enjoy all new possibilities. I just booted & installed vmware on my WhiteBox using this setup.