Inspired by my friend and humidity issues in my bathroom I decided to have some fun and start making my home more inteligent.
First attempt - make humidity and temperature sensor which will present data on my iPhone "Home" App. While it looks not complicated when we split it into pieces we need the following components:
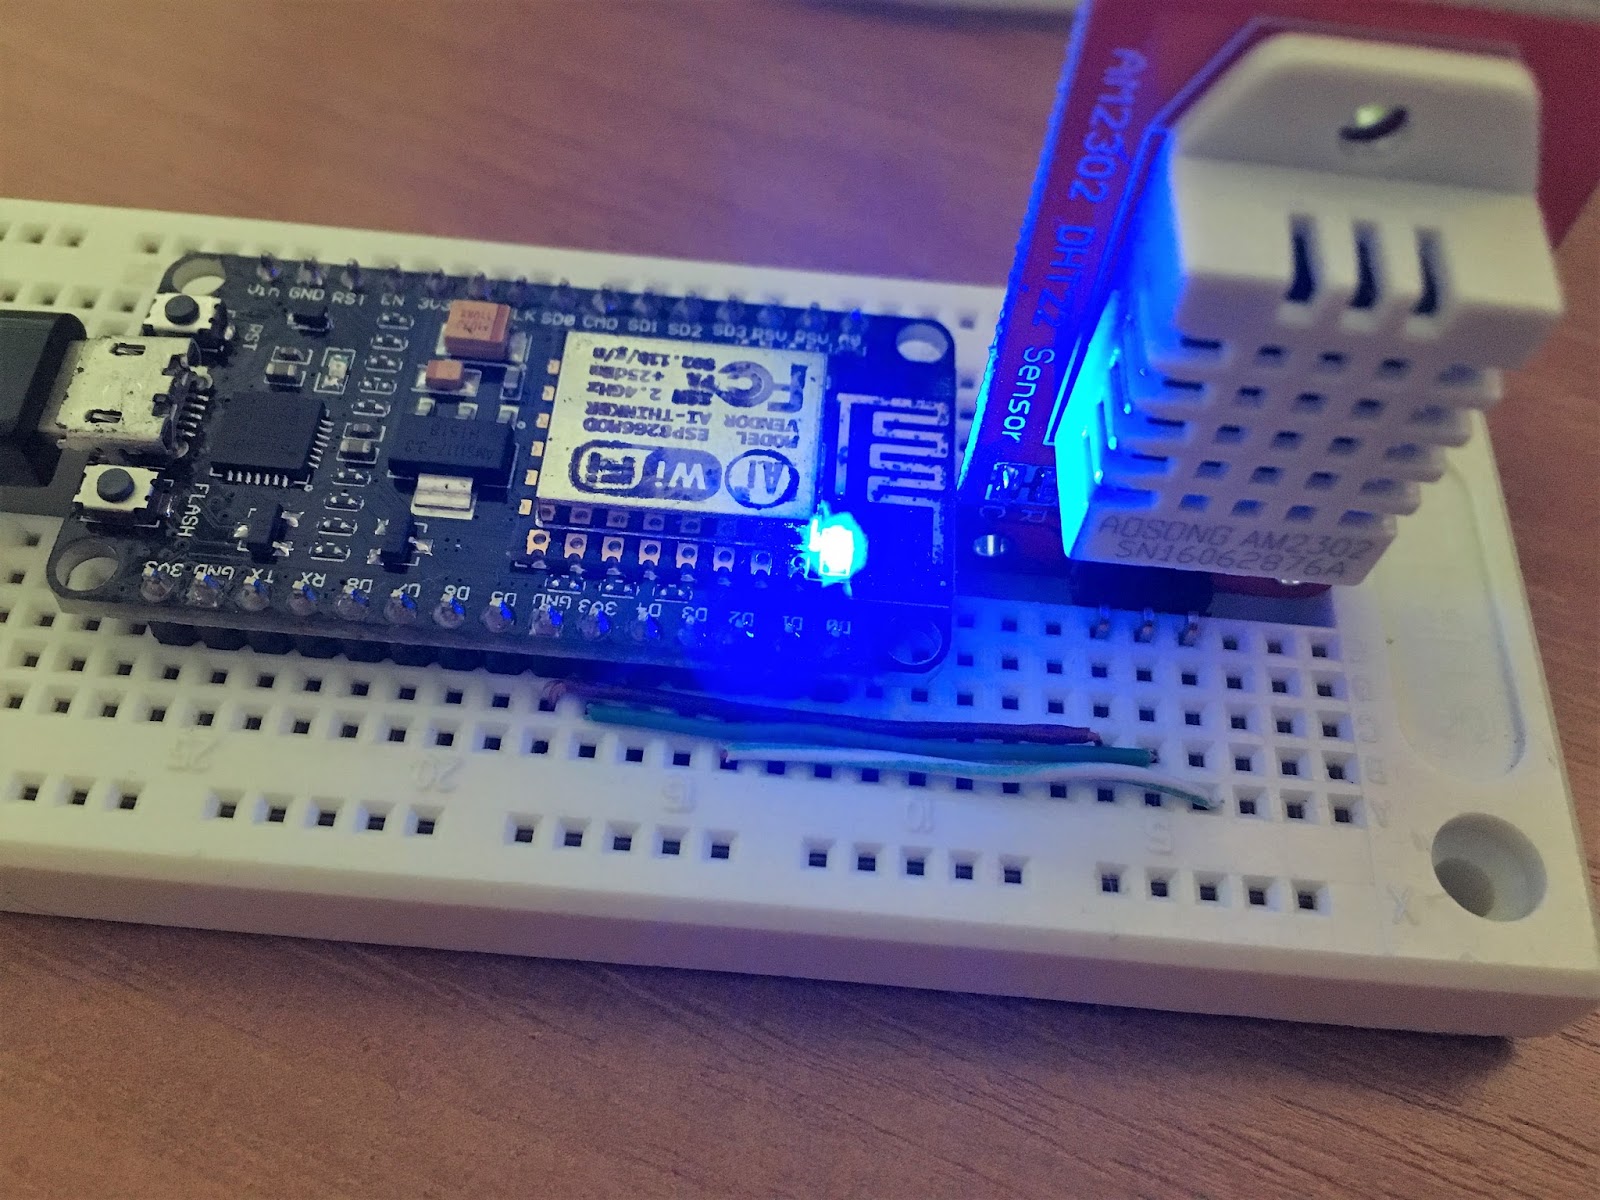
- Temperature/Humidity Sensor //DHT22
- Wireless module, capable of reading sensor data and sending it somewhere // ESP8266/NodeMCU
- Some software smart enough to receive and understand data from sensor, identify from which potential sensor this data comes and forward it into HomeKit // MQTT
- Homekit software to talk with phone
- Phone who will read and present data from HomeKit software
I ordered by ESP and DHT on most popular chinesee portal and I aimed for cheapest, so both cost me together a couple of bucks. DHT was delivered quite on time and in good shape, however ESP was more then 3 months in transit and looks like crap. Surprisingly, it works just fine :-)


In order to get started with ESP we need couple of things:
- USB cable
- ESP Flasher
- ESP firmware
- IDE
Once you connect your ESP to windows machine with USB you should already see first signs of life from your module, blue led near WiFi antenna should blink randomly. Go to Settings -> Devices -> Connected Devices and look for something like this:

Next step - flash your ESP with new software. Optional, but you will definitely have to flash your ESP multiple times and it's a piece of cake so let's make sure we have newest firmware on it. (And, by the way, if you are already here, it's just about time to at least browse this resource - you will need it all the time while playing around with your ESP).
You can try to build your own firmware here but I didn't bother. For the 1st time I just used last pre-compiled image available here. There are two flavors of image, float and integer. I took float, why not?

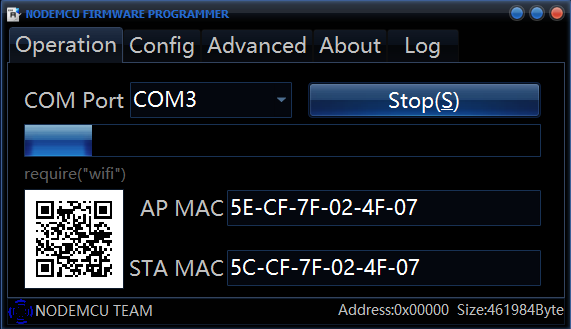
Flasher sits here along with short instruction how to use it. Just download 32bit or 64bit exec file and run. Go to config tab and click on gearwheel icon, select your firmware, leave offset at 0x0. Then get back to operation, make sure your COM port is set properly and click FLASH button. Progress bar should start becoming green and your firmware should be present on ESP in a couple of minutes.
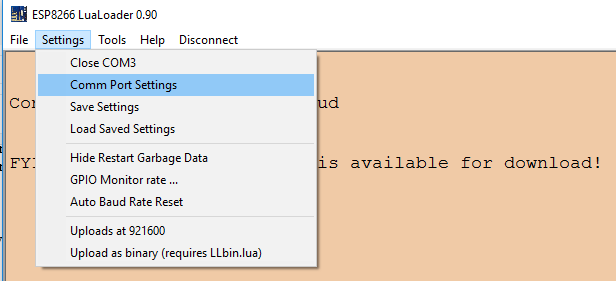
There is a couple of different IDEs to use with this board, I picked up LuaLoader for no good reason While bit annoying if you want to talk to your device interactively, it works fine.
All you need to do is to download executable and run it. Go to Settings -> Comm Port Settings.
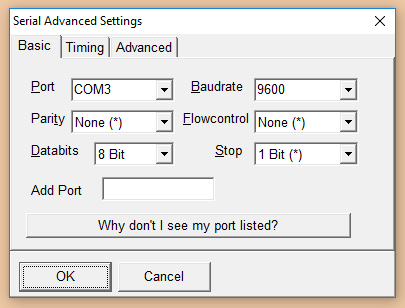
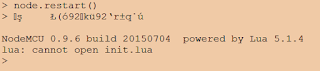
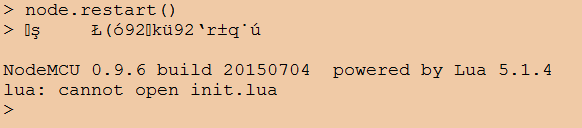
Then, hit Connect (Right to Settings). Then red "Restart" buton on right hand side. You should see something like this in main window.
This comment has been removed by a blog administrator.
ReplyDelete