Saturday, November 22, 2014

Your own linux-based iSCSI Target? S-I-M-P-L-E!

I took for granted that setting up iSCSI target on linux would be one of most time-consuming and complicated part of all this fun. I couldn't be more wrong. I have to admit that I've spent too much time on researching this topic, but once I've found right software it went quite smooth. 30 minutes tops, but let's start from the beginning.

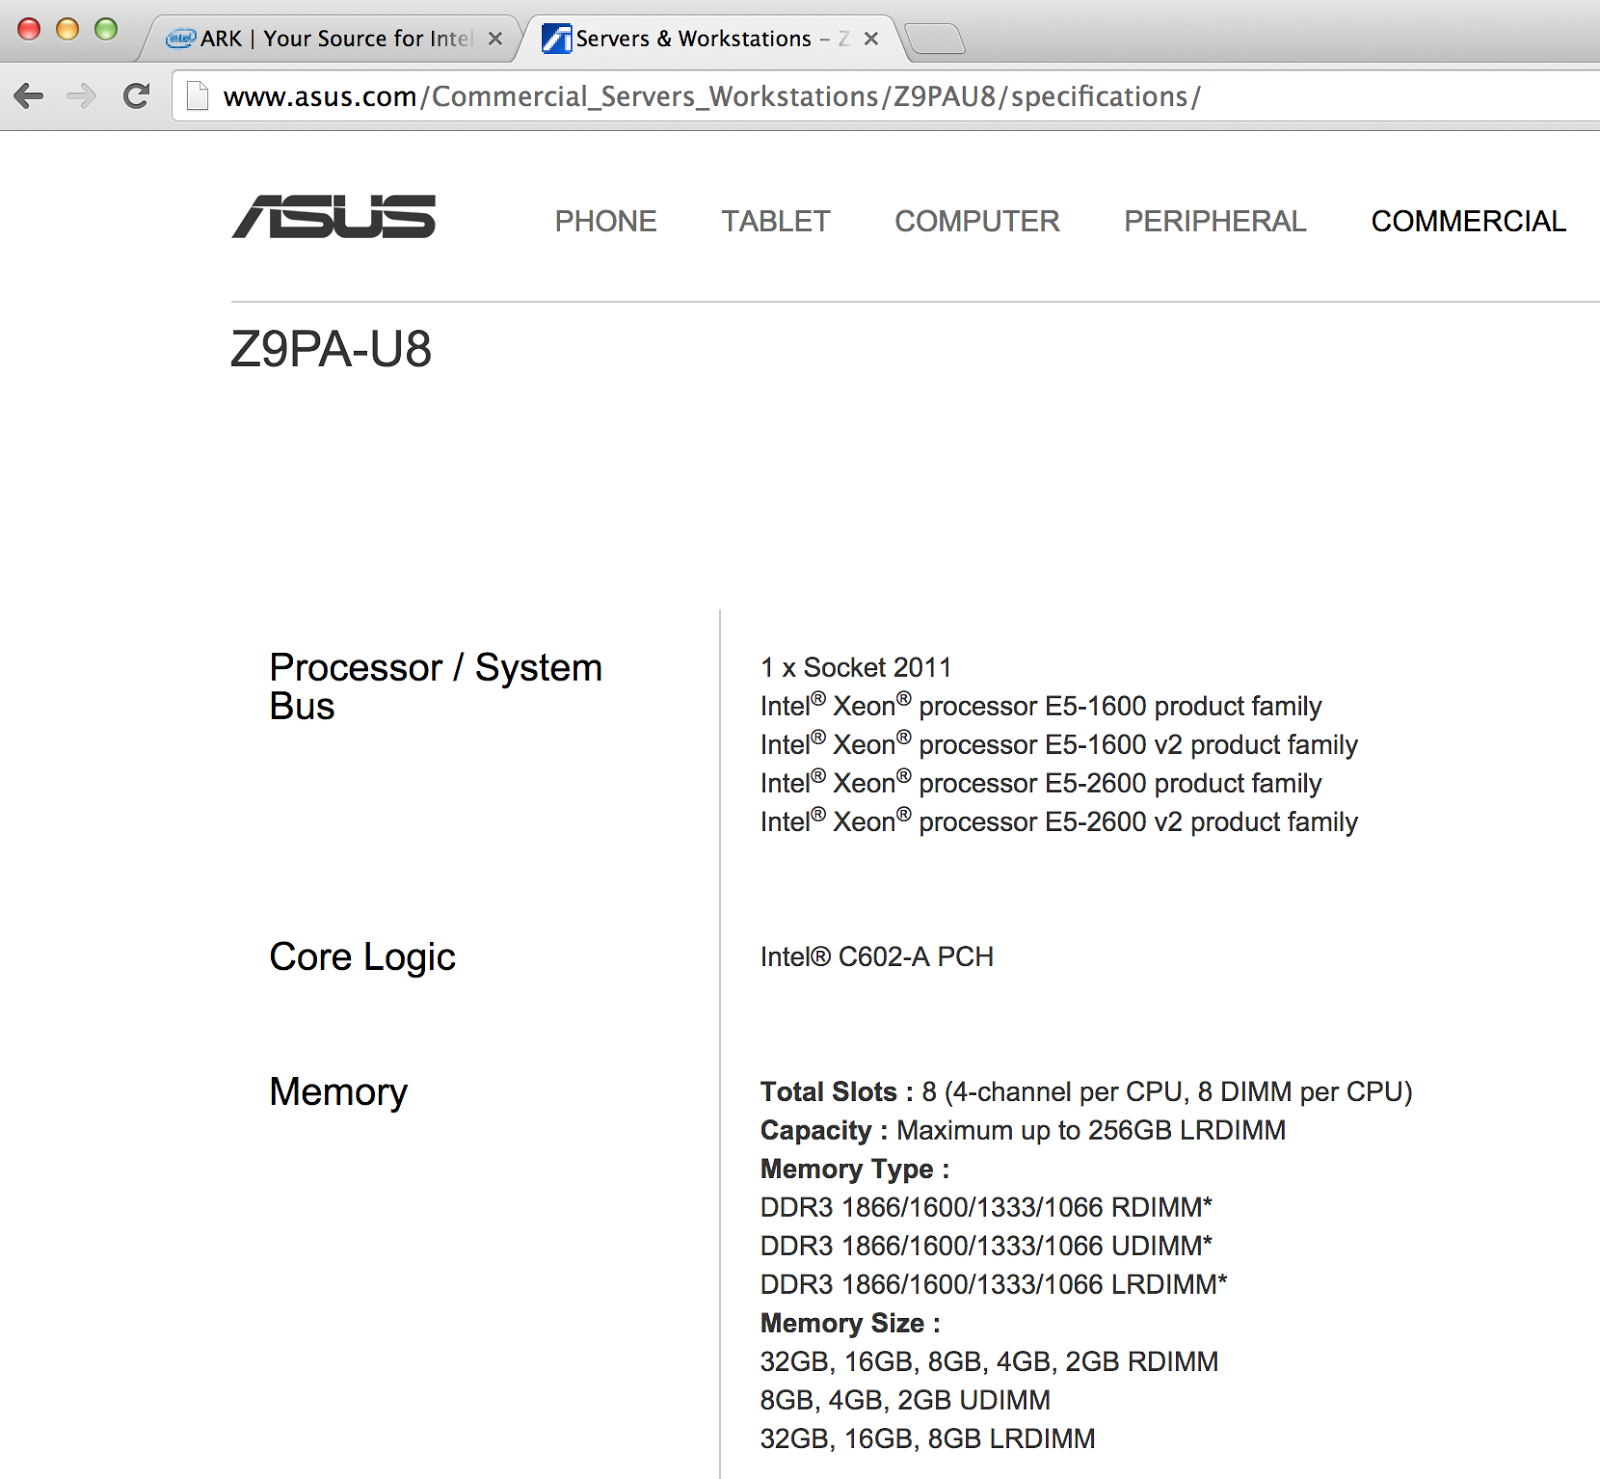
I'm still struggling with my new home lab build-out. Hopefully I'm moving forward, or at least today ASUS confirmed officially that even so far they were unable to reproduce my memory isue, they are investigating same thing reported from Czech Republic. 

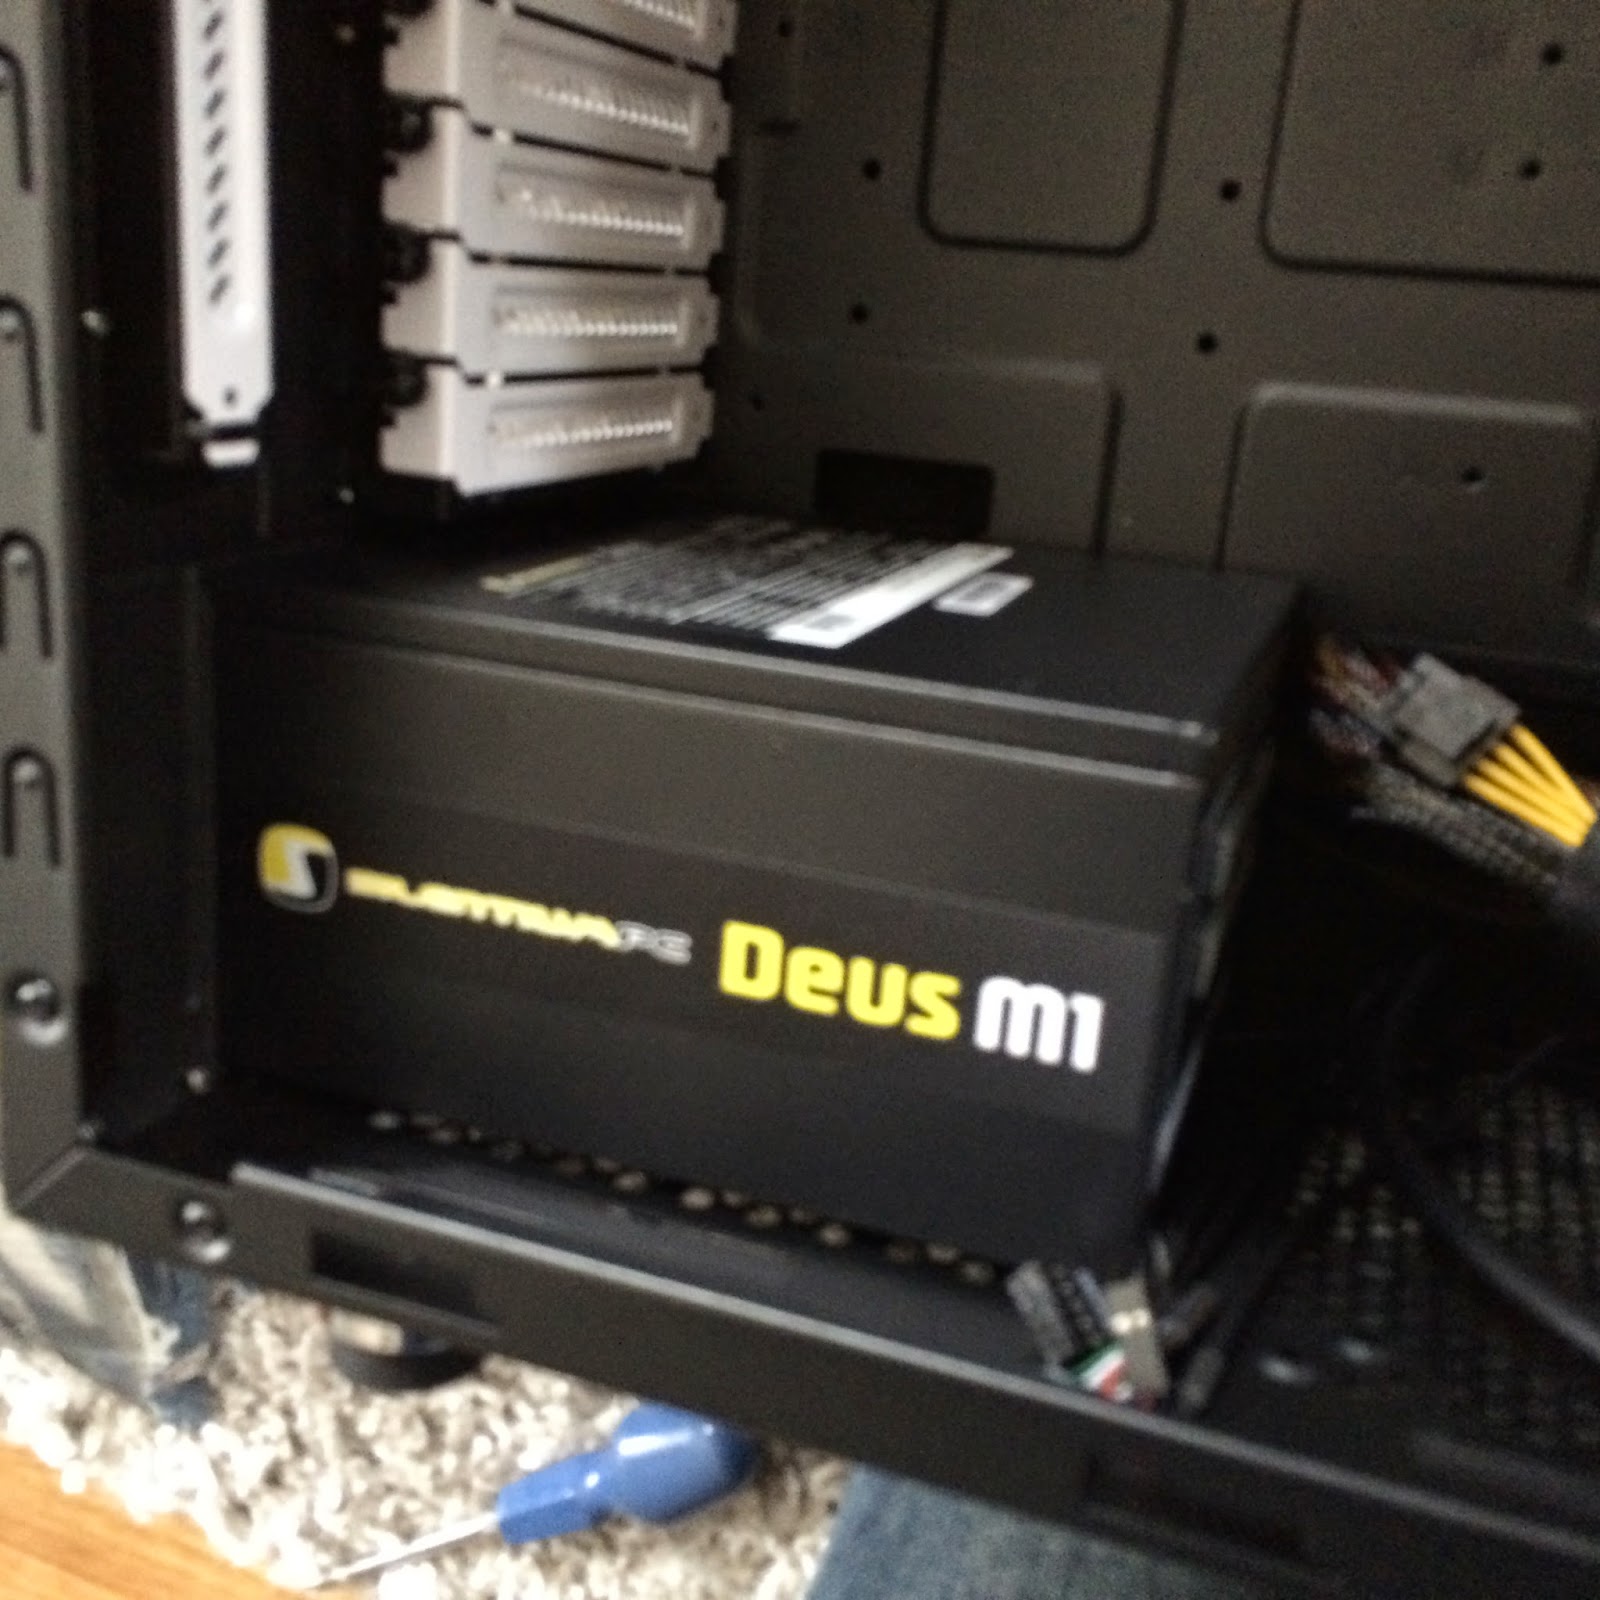
Part of the lab design (which is still only in my mind but no worries, I'll put it here soon) is nested ESXi hosts with external iSCSI storage. I'd love to have FC, but its quite costly, noisy, take too much space and electricity. Too bad. Anyway having this nested ESXi design would allow me to train most interesting HA features of VMware and allow me to have semi-centralized storage solution. Here's the nasty picture of what I'm trying to accomplish:

Quick & Dirty, but gives the idea

After I've finally identified right software, which is (obviously) iscsitarget (tada.wav!). I spent some time figuring out how to make it works with linux v3.16. Quick lecture of README, and I've created my /etc/ietd.conf:

Target iqn.2014-11.my.own.iscsi:nESXi.4T
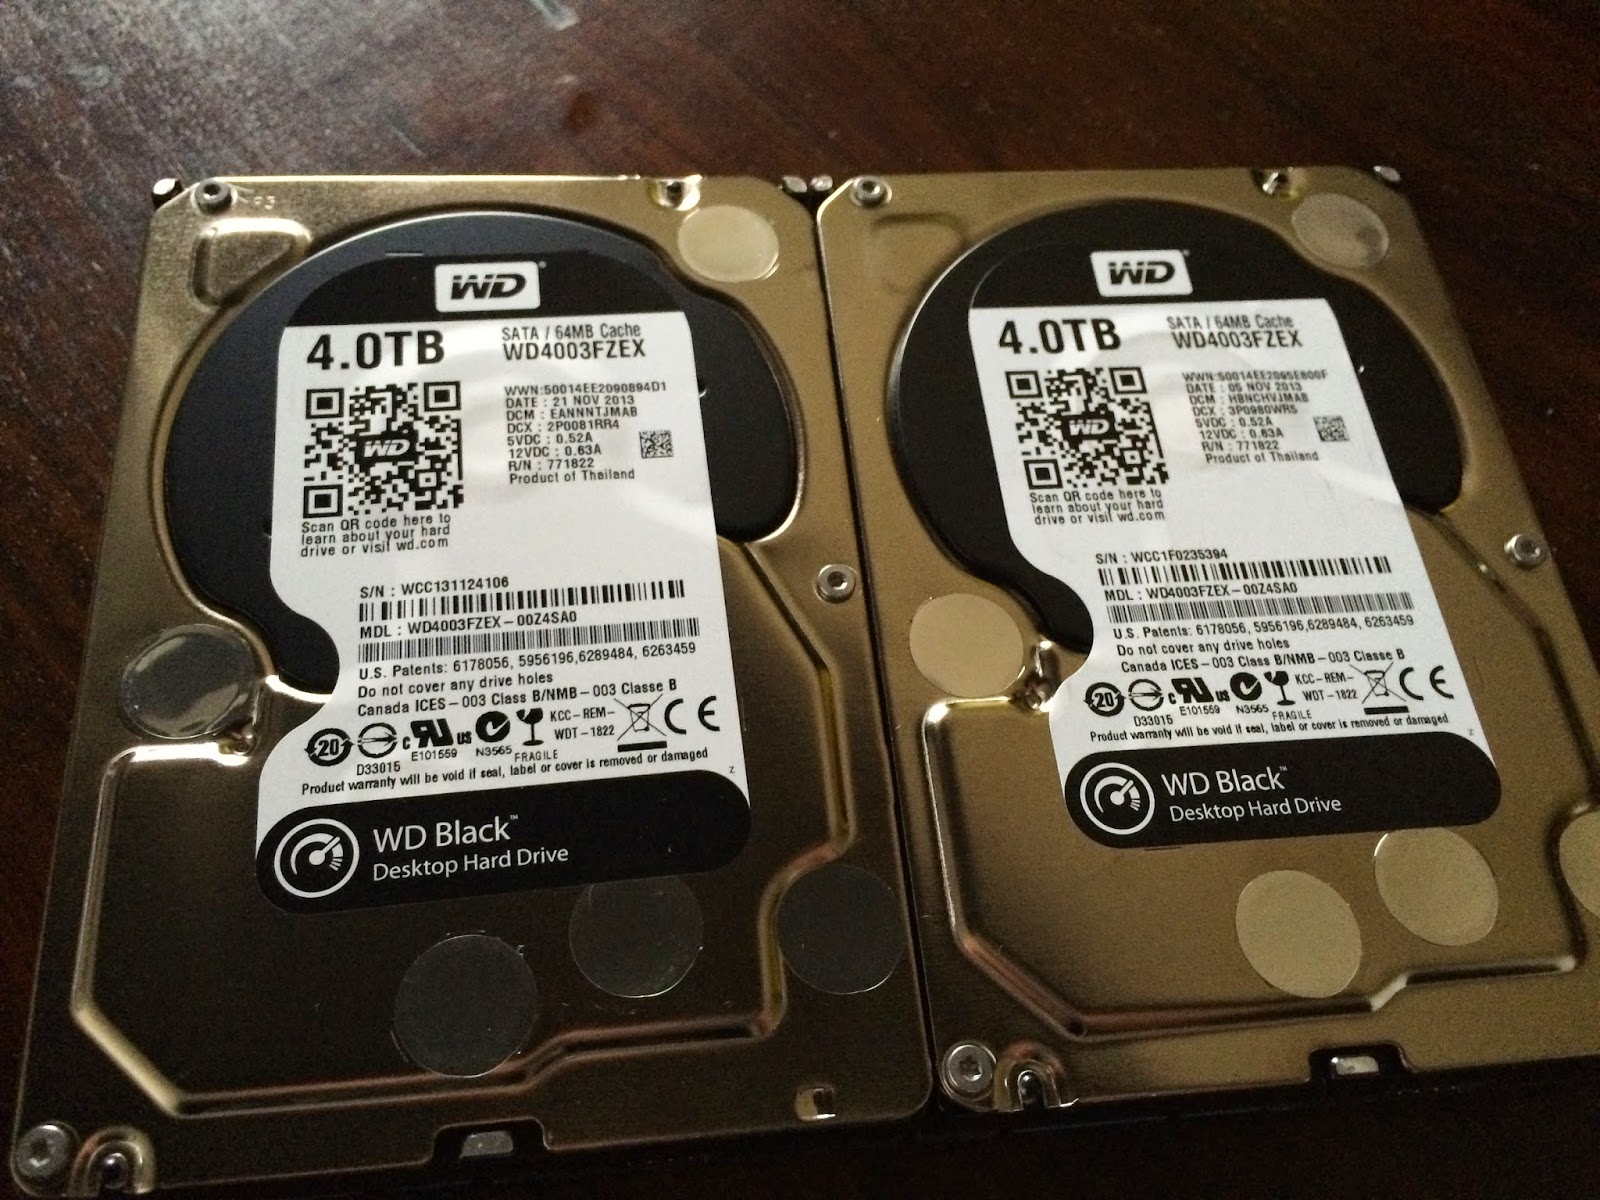
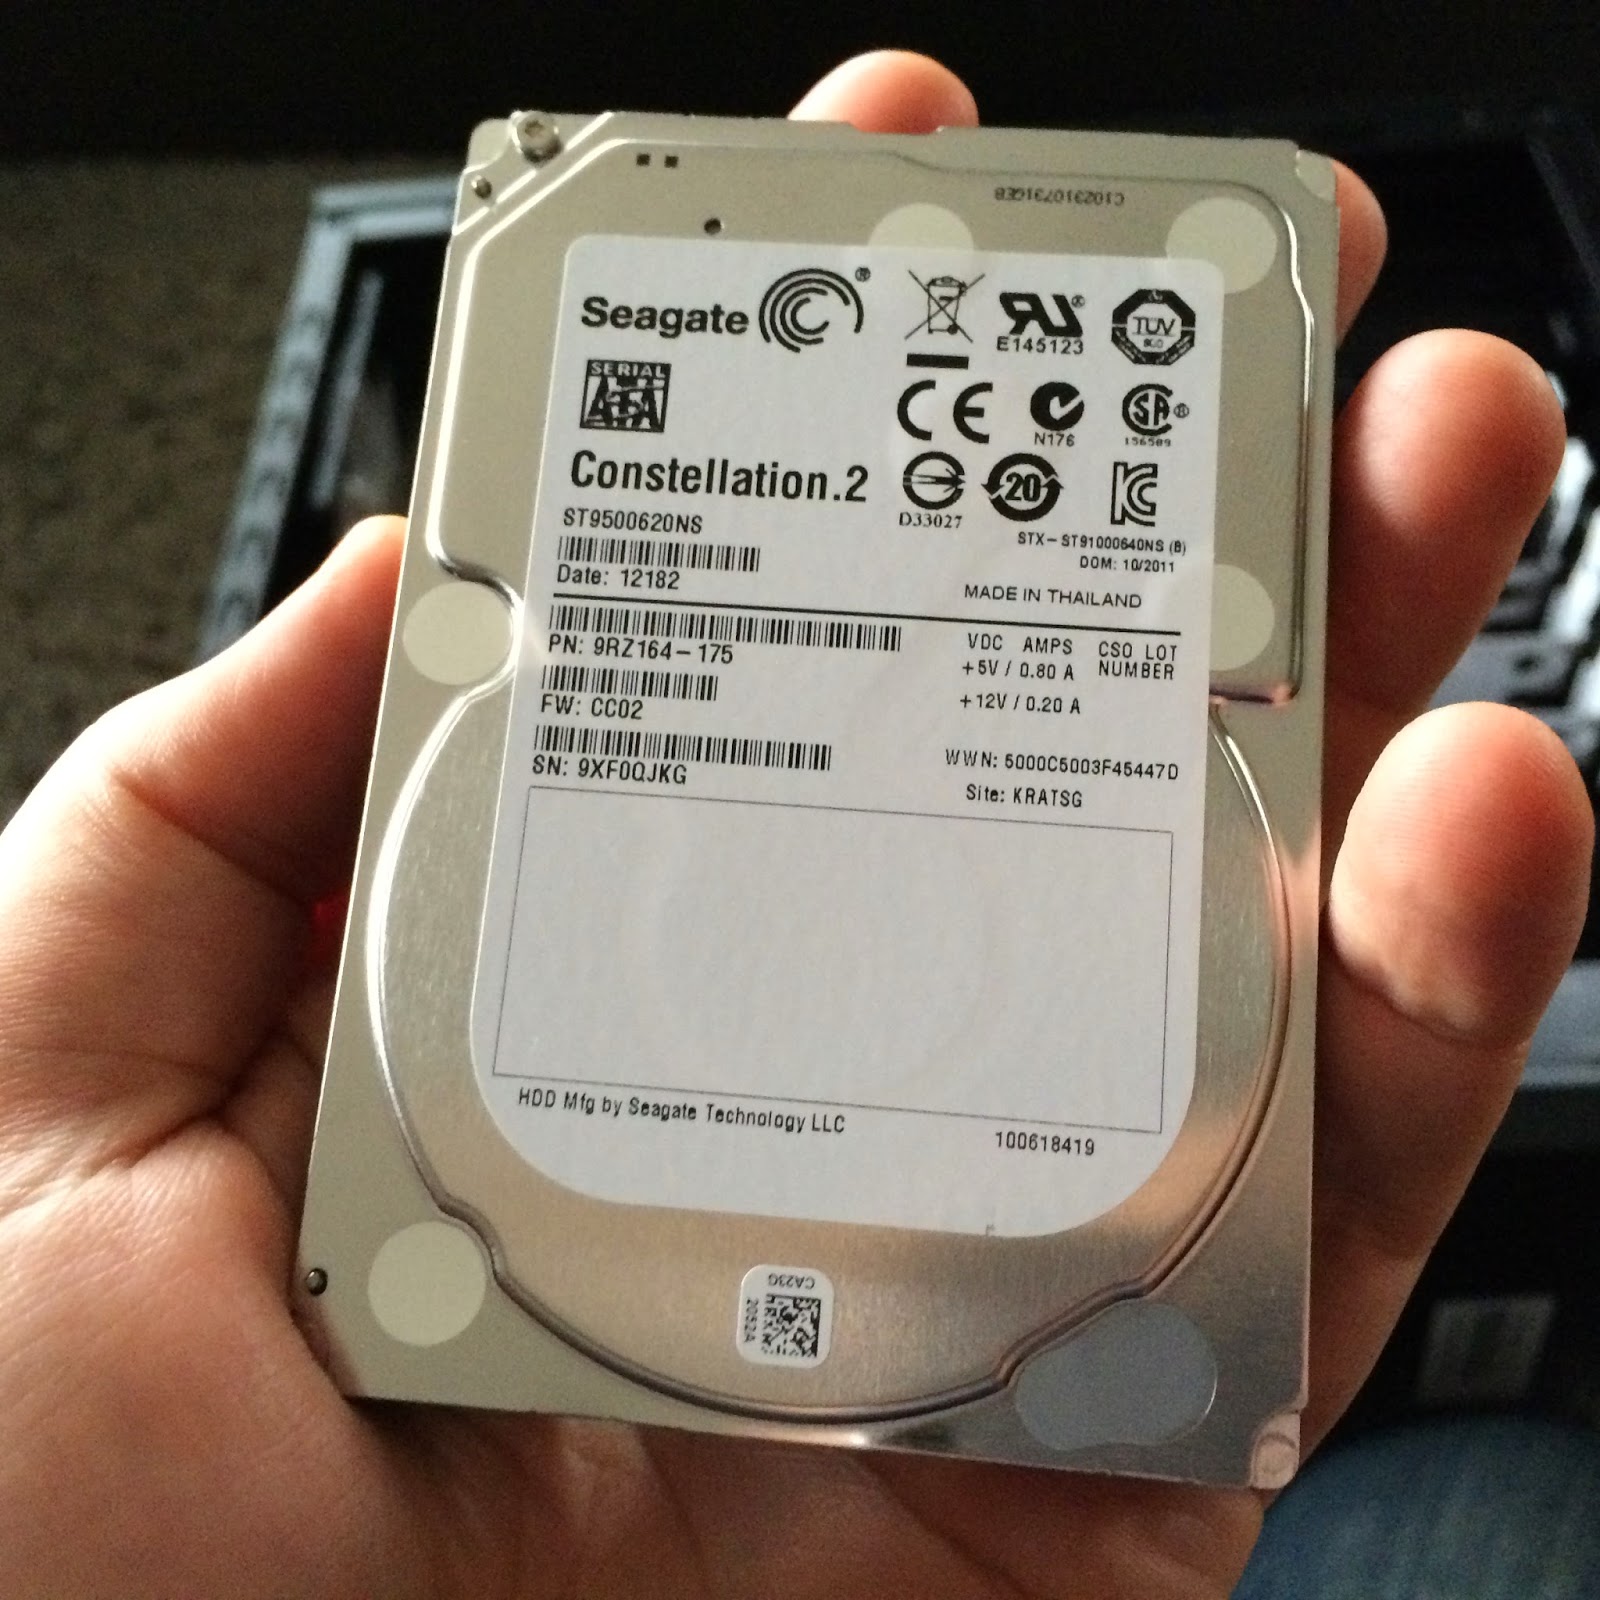
 Lun 0 Path=/dev/sdb,Type=blockio,ScsiID=sdb,ScsiSN=SDBHDD-1500-01
 Lun 1 Path=/dev/sdc,Type=blockio,ScsiID=sdc,ScsiSN=SDCHDD-1500-01

No fireworks here, I know, but there is no point on tuning everything from the very beginning, especially there is a great probability that defaults would be just fine for me. Anyway, reading man ietd.conf will make no harm.

/etc/init.d/ietd start 

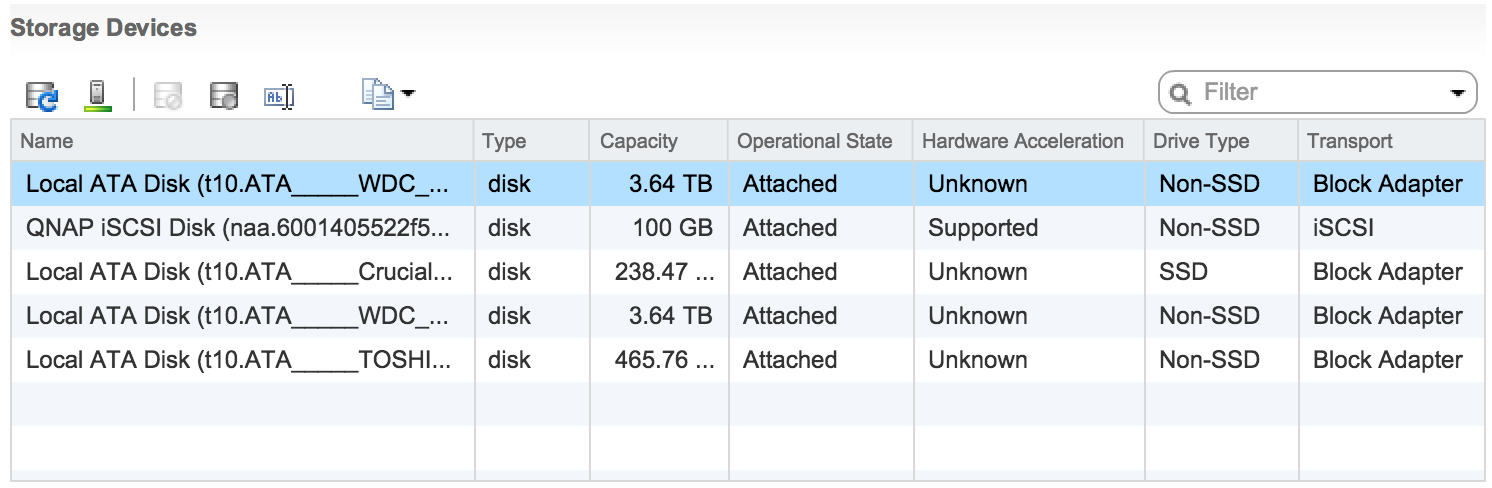
and... voila! VMware quickly discovered my luns. Formating them, creating and mounting datastores was only a formality.


Now when I have my nested storage set up and mounted to both hypervisors, I can't wait to deploy some vms!


Tuesday, November 18, 2014

How would you draw a kernel compilation?

... Using 10 physical cores effectively meaning 20 logical CPUs?

Well, I'd draw it like that.

One picture, a thousands words.


Sunday, November 16, 2014

The more you get into it...

...the more complicated it becomes. Yes, again I have to say that ASUS owned another few hours of mine and only result I achieved is another support case created. How cool is that?


A few days back I finally received a pair of brand new, undamaged hard drives. I even made a picture of them to emphasize this crucial moment in my life. This time they are spinning well, no excess noise or vibration... And honestly, that's all I can say about them right now, because it seems that my LSI MegaRAID on my ASUS Board is not functioning properly... 


So today I wanted to pass-through the RAID controller to ESXi host and then having real hardware access to the controller itself. Having all this capabilities incl. SMART etc then create software RAID-1 under Linux vMachine. Yup, dumb idea. Since I already have my SSD connected to this controller, I cannot pass it through to VM. Looks like I didn't think over it enough. 

Looking for work-around? Use on-board LSI MegaRAID controller to have RAID-1 things handled by the hardware in the background and then create 4TB virtual disk. Probably not a best available option ever, but still seems to be feasible. Okay, reboot, reconfiguration of raid BIOS configuration, init of array, here we go! Well... ESXi still see two drives. How weird is that?!


After a little bit of reserach I found out some information about not having raid enabled prior to installation of ESXi and missing modules and things like that. Well, drowning man will clutch at a straw, so I went through all the options including changing jumper on motherboard to switch to Intel Raid solution and then going back, disabling and enabling RAID in BIOS again... no luck. I've even gone ahead and created RAID configuration for disk which are not meant to work in RAID!


No luck, my ESXi still see Intel Patsburg controller. Instead of LSI MegaRAID. 


Well, like I've said. Looks like I'm gonna keep ASUS guys busy for a quite bit of time.


VM Question? I'm here to help!


One of small irritating obstacles during my home virtual lab build out phase was VM question. It started to appear every single time i rebooted my machine after I've enabled VT-x to deploy nested 64bit ESXi instances. 

<digression>
And, by the way. I'm probably only person all around the world who really enjoy new VMware web client. I Think that it is actually quite cool. It takes some time to get used, but when you do you'll love it. And since its meant to be the future of VMware and there is no OSX native client - Why not?
</digression>

So how to answer that question if vCenter is the VM who asks? Through CLI, of course!

Step 1: Log in to ESX and list all virtual machines and their state:

Step 2: Remember your VM ID and check if there is a question to answer:

Step 3: Answer & verify:

By the way - VMware VM v.10 does not ask stupid questions :-)

Friday, November 14, 2014

Freedom or Fail?

A month ago I was quite excited about PXE booting and endless list of use cases for this interesting feature that just started to grow inside my head. Last week I've been prisoner of time - waiting for replacement of broken hard drives and motherboard. While I received today new drives and they are fine, I called ASUS and they confirmed that they indeed have some issues with memory support. Looks like I'm stuck with 64GB for now.

Back to the point - idea was to boot some linux distribution to have working shell with basic toolset and test my SSD performance. Of course I'm a geek - I *had* to use PXE! My list of images was growing fast today. Not because I had so many needs, just because not everything was running as expected. 

Enough to say, I was happy with PXE too fast - ESXi installer from PXE runs smoothly and I took it as a good sign. Not so fast though!

As you noticed my list now contains lots of different images now. Here you find full list with PXE boot result:
  • Local Boot (BIOS Order) (PASS)
  • ESXi Installer (PASS)
  • FreeNAS Installer (FAIL)
  • NAS4Free Installer (FAIL)
  • OpenFiler Installer (FAIL)
  • Knoppix Live DVD (FAIL)
  • Ubuntu v14.10 (FAIL)
  • Gentoo x64 Installer (FAIL)
Well, I have to say - Indeed I have chosen good image for a kickstart!

While I was able to "boot" almost all of them (all except Knoppix actually, most likely because of size of DVD image), it turned out that most of them is trying to mount CD somewhere in the middle of the boot process and that obviously failed miserably. There's no CD!

Next thing - booting from PXE/TFTP is quite slow and it takes a few minutes to download 327M VMware image. It was so slow that I've made some benchmarks:

PXE/TFTP:  5m51sec // QNAP to Discoverer over GE wire
PXE/FTP:    0m50sec // QNAP to Discoverer over GE wire
WGET:        0m27sec // QNAP to notebook, over 802.11ac wireless


Maybe it's not a huge issue since we only use PXE to boot installers, but its annoying. Switching to ftp speed-up multiple times! 

Looks like my "brand new" shiny idea of installing everything over the network just blew up. I believe it is fixable but probably image-by-image. Here's a good example for best linux distribution ever. pxegrub.0? Sounds promising. Maybe next time...

Anyway, do you remember this little nasty thing that our hard drives vendors do to us? Normally in computer word we use binary counting, which effectively means that kilo=1024 and mega=1024*kilo=1024*1024=1 048 576. Hell, not for HDD manufacturers. They use this little cheat on us and count kilo as 1 000 and mega as 1 000 000. What is practical value of this? Real capacity of HDD is smaller than declared by vendor. It wasn't a big deal in '90 when biggest HDDs was like 20GB. Even now when you buy 0,5TB or 1TB HDD and it turns out to be 10% smaller it's something we just used to agree.

But I just bought 2x4.0TB drives and guess what? 4.0TB (Declared) == 3725MB (Real). I was cheated by 275GB on each drive! Thats insane!

Friday, November 7, 2014

Disaster. NOW.

While I was writing this blog post yesterday I had no idea how accurate picture I chosen to adorn it. I had absolutely no idea that I was actually playing a game with fate and obviously he hit me badly today.

So thanks to ASUS I got my replacement mainboard delivered today. I gave it a couple of hours to get used to conditions inside my flat given it most likely spend last few days in a cold warehouses or trucks. Here we go! Disassembly was quite fast but I've noticed something interesting - my heatsink didn't seem to be in proper contact with CPU. Then I just started to think what if the heatsink is too heavy and it pushes the cpu so hard that it does not have proper contact with pins on upper side? Sounds crapy. 

Nevertheless; I assembled everything back again. Just to be on the safe side - I put discoverer on side just to make sure that heatsink is unable to make any unbalanced pressure on CPU. Held my breath, power-on. It's b7 again. Damn it...

Looks like there is some serious issue around, but who to blame? Second motherboard same fault? Not really much possible from the probability point of view. So I decided to completely remove heatsink from the CPU itself. Well, it may be a little bit risky but it shouldn't burn in flames after a minute and I'll make sure that it's not heatsink fault. Okay, power-on... b7. Its beginning to be ridiculous. CPU fail? Is that really possible? Time to change CPU. Being proactive, I equipped myself with additional E5-2630L-v2. Power-On... b7 again. What's wrong with that stuff?

Having all this experience I decided to get in touch w/ASUS support again. It's more likely to have two broken motherboards than two broken CPUs. It was easy to replace the mainboard (but anyway I'm grateful for ASUS to be such a professionals and I'm impressed by the way they handled it). Are we gonna start blame game now? Let's see what's ASUS support is made from. My best guess? Both MBs are good, there may be some issue with support for E5v2 CPUs, hopefully to be corrected by BIOS update. Oh, by the way I've just taken this little screenshoot from ASUS Web page. :-)

Thursday, November 6, 2014

Double trouble


This week I was quite excited. As briefly mentioned here, recently I've ordered last piece of the puzzles: hard drives and memory.  I was expecting delivery of everything next couple of days and my configuration should be finally completed. Yup, it took me more than month from first order up to today. Amazing, how fast time flows, huh?


Just to be on the safe side I've ordered 4x 16GB DDR3 from motherboard HCL. I didn't think about it too much, I took cheapest ones - Kingston KVR16R11D4/16. At very beginning I thought that I'm gonna go for 2x32, but apparently 4x16 costs as much as 1x32. With 16GB DIMMS my mainboard would have 128G capacity, which seems to be good enough for foreseeable future. Interestingly enough, one delivered DIMM was slightly different then another, but at the end I con't care about colors as long as it works. Added to my current 16GB will be 80GB in total. Sweet.

Having in mind my previous experience with memory seating I opened up my manual and started to populate slots. Have to say that this single-notch dimm sockets are crazy Idea. Done, power up, and? You got it. Stuck in b7. Again. After a few hours of playing with DIMMs I gave up. Looks like every single one works perfectly on its own. I managed to have working 64G configuration, but I've noticed that there are some slots on my motherboard which simply does not accept memory at all - when something is inserted it ends up with b7/b0 code.


I reported this to ASUS and to be honest - I'm very satisfied how they handled this issue. After a few e-mails exchanged we agreed on motherboard replacement. Just to make it short - I'm expecting delivery of new mainboard tomorrow and I reported it two days ago. It should be normaln - why I am so happy? Well, I'm not business customer and I was afraid that they push me back through normal warranty process meaning talking to supplier and sending motherboard back, then waiting for at least two weeks for replacement. Special thanks to Pawel from ASUS for helping me out. And - by the way - ASUS suspects damaged CPU pin or DIMM slots.

All in all after I gave up with memory I ended up with working 64G configuration and I decided to go ahead and install hard drives - hoping that I will solve this memory issue later. Disks arrived wrapped up with bubble envelope and it was quite surprising to me but well, I explained it to myself - they know what they send and how to handle it. I couldn't be more wrong. After connecting I noticed excessive vibrations and noise. 1st thought was OMFG - I've never seen so noisy hard drives before!

Then I realized that it must be something wrong with drives. I pull it out of the case again. See it yourself...


Damaged badly. Again, back to the supplier. They agreed on replacement. Thats good. No delivery blame game. Bad thing is that I'm kinda stuck for at least another week now.

In the mean time I'll try to finally setup or at least design some basic virtual lab topology. And yeah, test my SSD, cause it seems to be a little bit slower than promised. Hopefully not another subject to replacement. Stay tuned!


Monday, November 3, 2014

Unleash the power of SSH tunneling!

This time I will describe something practical. Nothing really exciting or new, but I always forgot this syntax and it's boring to read SSH manual over and over again... So let this be my memo - if it is also useful for you - great!

Imagine you have a server without internet connectivity at all. But you can - of course - connect there via SSH. And you need to download something from the internet on the server itself. Badly.


That's easy! - you say. You can download it to your host then scp to the server. Done! 

Yup, you're totally right. Imagine however, you have to install perl module with tons of dependencies. Downloading all of them one-by-one, then compiling by hand just to reveal that there is another dependency in place.. nightmare. But here comes the solution! SSH Tunneling!

Step #1

Go to ftp://ftp.perl.org/pub/CPAN/MIRRORED.BY and select your favorite CPAN mirror. For purpose of this tutorial I'd use fist one mentioned - http://mirror.23media.de/cpan/

Step #2

Connect to the server and tell SSH to create tunnel starting at remote SSH connection endpoint (-R) port 65432 and ends at selected CPAN mirror (mirror.23media.de:80). (This example uses OpenSSH, but you can use it with Putty or any other SSH client if you want)

ssh username@remote.server -R 65432:mirror.23media.de:80

This command basically establish SSH connection to remote.server and create tunnel from that host, (127.0.0.1:65432) with endpoint at mirror.23media.de:80. You can test it if you want by typing 

telnet 127.0.0.1 65432

just after you authorize yourself at remote server correctly. If connection succeeds, you know that you are good to go (you can always follow HTTP protocol and use GET method to do further testing).

Step #3

Launch CPAN. If it is already configured pick your favorite editor and edit your ~/.cpan/CPAN/MyConfig.pm file. Find urllist and change it to:

'urllist' => [ q[http://127.0.0.1:65432/cpan/]],

(If you haven't got CPAN configured previously, dont panic - run cpan normally and answer default to the most of the questions except first one and at very end don't agree for automatic probing and just provide mirror path like above)

There you go! Now you can launch CPAN

$ perl -MCPAN -e shell

and you can enjoy automatic installation of all required perl modules.

cpan> install Net::SSH::Perl

This method, however can lead to issues when during installation process CPAN wants to download something from other url than expected. But now you know how to overcome that issue, doesn't you?

Ahh, almost forgot. What about unleashing full power of SSH tunneling? This example was good for babies. Imagine you need to jump through another 2 servers. Yes, you can join multiple tunnels together. All in single command! The important thing is that respective sockets must match. This is a little bit tricky at the beginning, but once you get to the speed...

ssh username@remote.server1 -R1025:google.com:80 ssh username@remote.server2 -R1026:127.0.0.1:1025 ssh username@remote.server3 -R1027:127.0.0.1:1026

telnet 127.0.0.1 1027 ... :-)

And oh, by the way. Net::SSH:Perl has about 35 dependencies...

$ ls -la ~/.cpan/build | wc -l
35

Know a better way? Share!

Saturday, November 1, 2014

Pink pendrive story


Last few weeks passed under the sign of pink pendrive which I use it to boot discoverer. I've got many questions asking "do you recommend this setup?" Yes, I do - short answer (by the way, I'm not sponsored by anyone :-)). Long answer below. I decided to write this quick summary even though I'm not 100% complete yet still missing a few components (mostly disk drives, BMC controller and memory), but I think that I've gone through the hardest part and finally there is something to share.


CASE

I can say only good things about the case I've bought. Not too heavy (like my previous one, Chieftec Dragon), but still top quality. Looks good even in living room :-)
Air filters at every inlet do a great job - even though after the month its still not 24/7, there is already quite a bit of dust on them. Otherwise It would be collected inside.
Next great thing about this case I'd like to emphasize is that it has great cable management - you don't have almost any cables inside the chassis (they're all on the back). This is also good for cooling. PSU placement on the bottom is definitely great idea.


PSU
So far I haven't put heavy load on this box, but with all my VM up & running (ESXi, vCenter, FreeNAS, 2x nested ESXi) doing nothing it consumes about 52W of energy. I've never seen more than 120-130W. Looks like my 550W PSU is a little bit overkill, but to be honest, today I'd go for same one. It has all safety measures, plus modular cabling - this is definitely worth its price! One more thing about PSU itself- before you buy it - it's definitely worthwhile to checkout the length of the cables - I got lucky and they were just as long as I needed. 1cm less and I'd be in trouble.


COOLING
Case itself was equipped with 2 140mm coolers - one on the front and second on the back of the chassis. Quite silent, but airflow takes its sound. 
Additionally I have one cooler inside PSU and obviously my favorite second one on the CPU - cooling not only CPU itself but as you can see on the image - memory too! There are air filters in every inlet of the case, and surprisingly there is a lot of dust on them, provided that It does not run 24h yet. In terms of silentness - everybody is different and have different expectations. As I said, I didn't have the opportunity to make this cpu hot yet. Anyways, so far its quite silent - normally you wouldn't notice it is even running. In the night when it's really quiet - you will hear the fans, but it's not really annoying. My MBPR is actually more noisy when it starts its coolers.


MAINBOARD
Reliable server building block? So far so good, but story here is a little bit more complicated. Overall - I think I'm pretty much happy with this mainboard even it's not perfect (do you know perfect one? :-))

One of my biggest disappointments was management NIC because i don't (and I don't wanna have) monitor/keyboard to manage it locally when needed and it wasn't stated clearly that you need to buy additional module to support it. Another one is that only 2 out of 6 SATA ports are SATA3 interfaces.
On the flip side - mainboard is fully supported by VMware. I managed to run nested ESXi with 64bit nested VMs. I run Wake on Lan and PXE boot and both works just fine.

Pros:
+ Small form factor
+ 256GB of memory support w/single CPU on 32G DIMMS
+ two RAID controllers on-board
+ management ethernet on-board (but works only with external BMI add-on)
+ two real GE nics (connected to PCI-E) w/PXE support
+ additional mangement GE NIC
+ support for BMI
+ serial console support

Cons:
- BMI must be purchased separately (about $50) and without this your management NIC doesn't work
- Only two SATA3 out of 6 total slots
- Only RAID1/0 support on-board, for RAID5 you must buy additional Asus PIKE card (fits only into special slot on mother board)
- Really stupid and annoying one-side dimm latch. Might be OK if you want to add your memory once, but provided my troubles with memory support - a nightmare
- No external USB3.0 connector - forget about your front panel blue USBs


CPU
So far most expensive part of all this venture. Most likely to be dethroned by memory in the future. Just to mention - It's Intel Xeon E5-2690-v2 doing really only NOP's here. Nothing really much to say except looks like it's huge overkill and only one thing which could possibly justify this CPU is 768G (YAY!) memory support. Currently there is no more than 64GB memory support in any Intel high-end desktop CPU. My main board supports 256G and I bought it for a reason. Hitting this limit with this CPU is only a matter of time and budget.


MEMORY
Nothing really much to say here except after a little bit of struggling it works (all 16igs). But unfortunately it looks like 16Gb of memory is sufficient enough only for ESXi, vCenter and FreeNAS. I just ordered another 64Gigs. Watch out for update.

STORAGE
So far it doesn't really exists. My old good 500GB usb drive turned out to be as slow as pendrive. So I've gone for another solution - 256Gig SSD for critical data and 2x4TB SATA3 drives in RAID0 for capacity. Trying not to spoil my next story - SSD was already delivered and I have decided to test its performance having some interesting results while I still wait for SATA delivery.

SUMMARY
After all - Looks like it was worth it and everything seems to work nicely. I'm gonna also order this BMC kit as I don't like the idea to connect via the serial console every time I want to change bios setting (local console doesn't work through this serial console at all) and I'd love to have remote KVM in case of disaster. Still waiting for memory & drives, to be finally able to run something useful. And yeah. I owe you pink pendrive true story. Well, I bought it few years ago for my wife. Apparently she haven't used it even once. :-)

Any thoughts or questions? Feel encouraged to comment!

Friday, October 31, 2014

A new hope

Okay, it's not good, but it's not very bad either. Looks like my worst case scenario just came to play. What to do? What to do? Okay, let's start with something. b7. Where's my manual? Here we go. It has to mean something. "b7. NVRAM configuration reset". Great. Google, you are my last resort. Still nothing? Somebody mentioned main board replacement? I'm so screwed...

Going back to the very beginning of the story - a month ago (yeah, I promised to put it next day, sorry about that) I finally decided to order all missing parts and put together my new toy^H^H^Htool. It was quite funny, but at the end it failed. Ended up with dark screen (didn't show even a thing) and this mystery b7 code on led indicator. I had to figure this out. It could be anything. So the first one and most obvious, easiest to tshoot was memory. I removed all three DIMMs and put back only one. First one... Nothing. Second... Like a charm! So after a bit of experimenting it revealed that both 4GB banks works perfectly, but third, 8GB one does not. 

First thought was that it was damaged, but then I realized that it may be some compatibility issue and after confirming that I don't have most recent BIOS version I've gone for upgrade. After that I was able to run every single memory bank, but only two of them at the same time. Weird, isn't it? After a little bit of further experiments I discovered that my manual is wrong and I changed the placement of memories in the slots for a few times. Then I finally managed to have my server up & running.


Ready-Steady-Go?

Oh no, wait. I still need some storage. Here is the great part. This mainboard has on-board USB slot, so you can plug in any USB device you want directly into motherboard. How cool is that? Of course I'll run my ESXi from usb and have all my disk space dedicated to the data stores. Okay, usb stick plugged in, drives mounted and connected. Onboard RAID controller enabled and assigned to all SATA ports.


Power-on, go to RAID controller ctrl-m, ctrl-m, ctrl-m... There we go! Crash course mode on, learning by doing. After a bit of time walking around the RAID controller BIOS i found out, that my 500-GB Seagate Constellation actually reports more than 2TB of capacity. I got these drives somehow second-hand, so my first thought was "Great, I thought that they are 0,5TB and they are actually 2.5!", but then I realized that I cannot initialize array on them. Moreover, I already noticed strange sounds from them just after powering on the machine. Another failure...


Then I recalled that I have my good old 500GB transcend drive. It spent last few years in the cabinet, so without any regrets I got it outside of case and put it into the server. Maybe its not long-term solution, but at least its gonna allow me to have some start. Then I'll move to new disks once I'll have it.


At the end? Thats it? Up & Running. 16GB Memory. Booting from USB Stick. 500GB of Storage. Good to go! Let's setup PXE and finally install ESXi!. In the mean time, let's make some review.

Sunday, October 26, 2014

Fix your lens. Yourself.


Things tends to be malignant. That's it. I learned it once more on the very first day of my vacation when I lost autofocus in my camera. I bought it about 8 years ago, so I'm not complaining. It served me well, but couldn't that happen a few days later?


At the end it wasn't so bad. My lens was still turning automatically in one direction. With that being said, I was able to use semi-auto-focus - just turn my lens manually in counter-focus direction, then half-press the shutter to focus. Sometimes I had to do this multiple times, but still better than nothing. And the pictures I took were not too bad anyway.


When I got back home I googled a little bit around and realized that I have three options:
1) Sell this camera body with broken lens as is. I was thinking about replacing it anyway.
2) Fix it in service - it should be no more than $70
3) Fix it myself - sounds like a challenge. And should cost around $7

What choice did I really have? :-)

Found this great tutorial on youtube and disassembly went pretty smooth. I identified broken flex cable and I ordered one on the internet. I put every part of my lens to the box for a week waiting for delivery. Once I got it I was waiting for a good moment to assembly things back again. Then I realized that I screw up. I should have wait with disassembly of my lens until the cable arrives, because during the week I just forgot order of operations and which screw I should use to secure which part. 

So I was kind of stuck with something like this on the table:


Ok, where to start? Again, I used second part of great tutorial I've found. The only problem I had was that disassembly went so smooth, that I decided to go a few steps further than tutorial and I just disassembled everything. Good news - it was much easier to replace the cable, because I had interesting part completely removed from lens body. Bad news - I had no idea how to put it back together. So I just started with broken cable replacement.


Then I spent another two hours trying to find out how to put all the things together to reflect the state of the lens from the beginning of second part of tutorial. It was quite frustrating, because every time I managed to put things together so I was able to turn around focus or zoom and lens behaved like it should, later on it revealed that parts were not aligned properly and I had to start from the beginning. Go figure.

When I finally understood logic of all moving parts and put it together properly, I just followed that lovely tutorial. It might be a little better quality, but it's good enough if you watch it carefully.

Good progress
Keep it up!
Almost there.
Yup, almost there. Just put back PCB, connect flex cables without damaging them, close the corps and... good to go?


Ready, steady?
You can only imagine how good I felt once I realized that it actually works!


If your lens ever happen to fail, you should fix it yourself. It's quite tricky and complicated to disassembly it and then put it back together, but it's definitely not a rocket science. 

Stay tuned, I have some significant progress on my Whitebox project to report!